Common Brightspace Errors
General advice
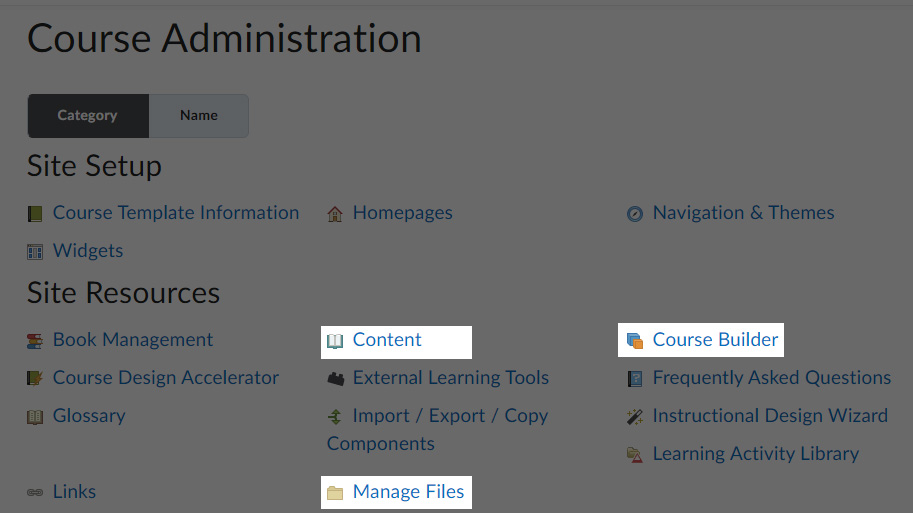
There are three big components within Brightspace that you will use when editing or adding content.
Content, Manage Files, and Course Builder. The Content page is the first thing you should see when you enter a Brightspace TemplateOpens in a new window.. You will have access to the other areas when you click Course Admin.
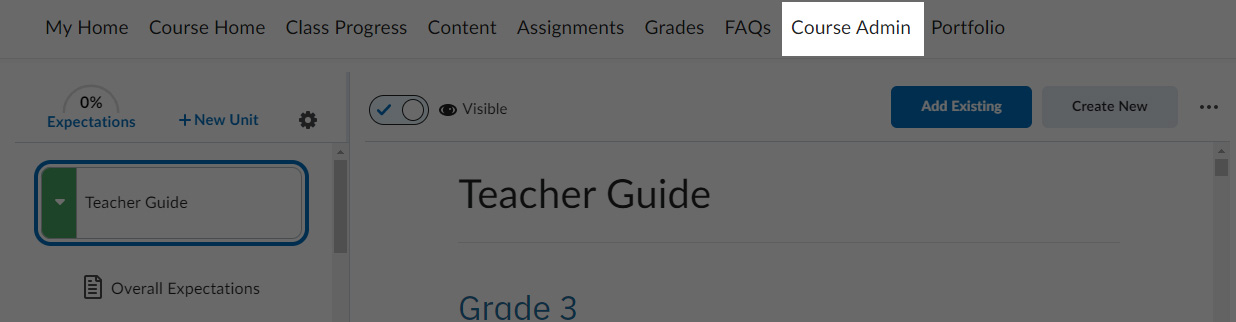
You can access these areas straight from the Course Admin button or click either Manage Files or Course Builder to find them in a header menu.
Note: You cannot access the second header menu in the Content area.
Press the following tabs for general advice on what to check for in each area.
Look through the content on the right panel to see any errors within the content itself. Inspect the page and see if the course functions when sized down in width.
Check the left panel and ensure all the modules and units are available and link to the correct page.
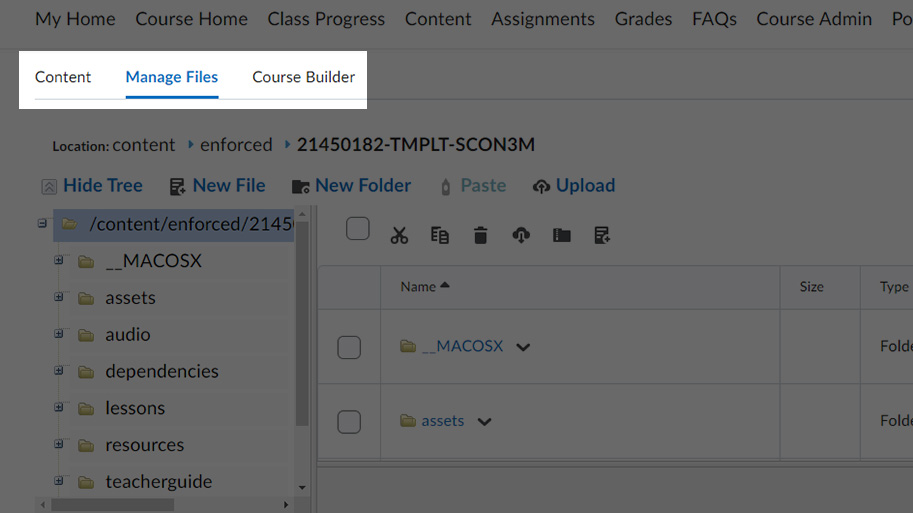
Here you are able to add and delete the files that have the course content within them.
In this area, check that there is no ZIP file lingering inside the root folder, if seen please delete it. Also, check that the dates of each file are recent or appropriate to the time they were supposed to be uploaded. If a folder is not up to date, it's alright as long as the files inside have the correct modified date.
In here are all the units and modules of the course, and also the area where you can link the modules to the appropriate file of the course.
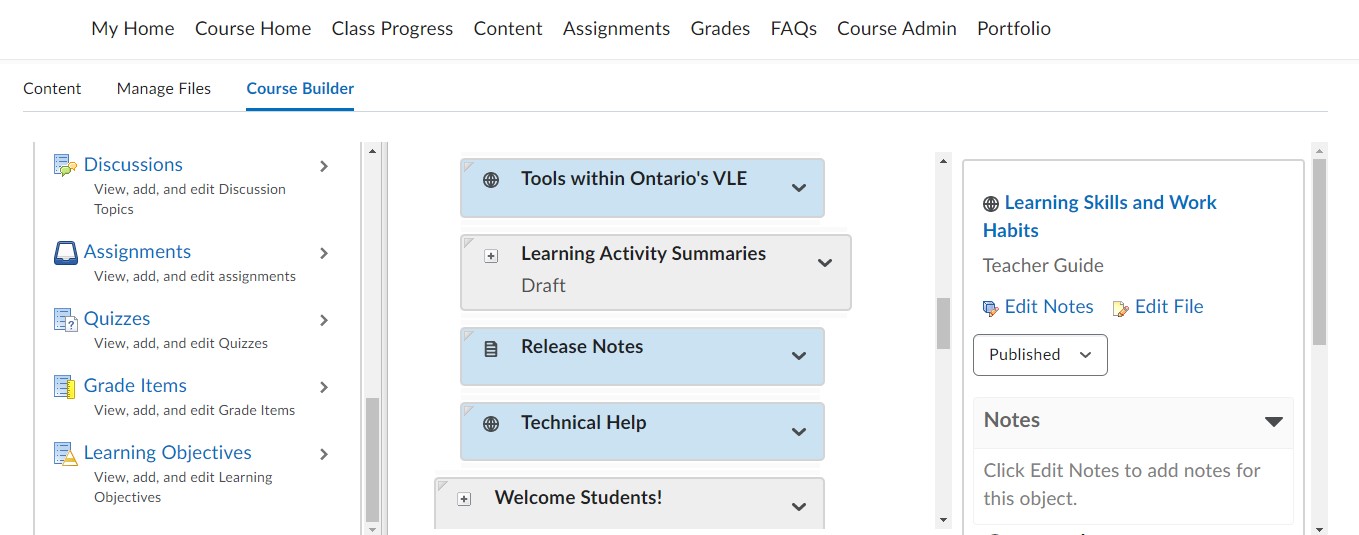
Check here to see if there is any unlinked or missing module in the course.
HTML errors
These are issues you see in the Content area on the right panel. They are typos, odd formatting, obsolete content, etc. If you believe the issue can be fixed within the local HTML file here are the steps to properly resolve it on Brightspace:
- Once the issue is identifed on Brightspace, Find the course on Gitkraken and pull the changes.
- Compare the changes in the localhost to see if they match the current Brightspace course file.
- If they do not match, confirm if the change was approved by the issue tracker, the LXD, or someone else.
- Once confirmed, make the appropriate changes on your local file, push on Gitkraken, and then deploy to QA on Gitlab.
- When everything is pushed, go to the Brightspace template and navigate to Manage Files.
- Navigate to the folder on the left panel that the updated file needs to go into.
- Click on Upload and upload the file. Make sure the that the option to overwrite the file is marked off.
- Check that the changes were made. Look for the new modified date of the file and then check the actual file in the Content area.
While there is an option to edit an HTML file within Brightspace it is highly unreccomended as it can cause odd issues within Brightspace that only re-uploading the file through Manage Files can resolve.
Extra scroll bar/Height errors
Sometimes a page will have a second smaller scrollbar. It usually happens in the overview.html boilerplate file of the Teacher guide. Or it will stop scrolling short of the full page. To resolve this, follow these steps:
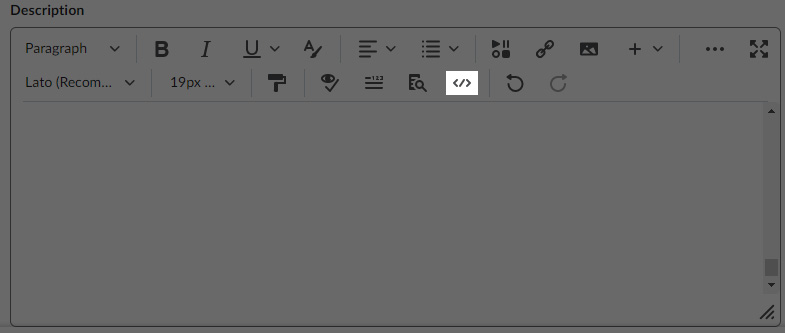
- Click on the three ellipses on the right corner of the Content area panel and select Edit from the pop-up menu.
-
- On the Brightspace editor, click on the embed button to bring you to the HTML editor of the file.
-
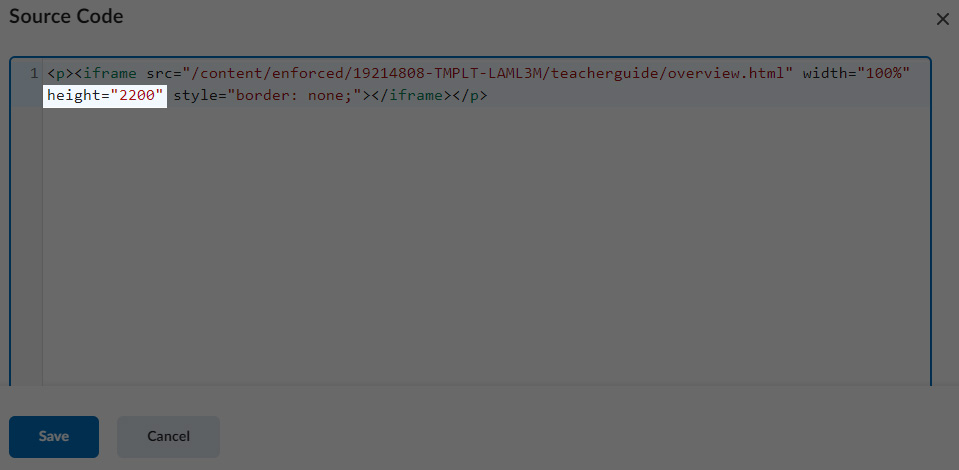
- On the new pop-up editor, adjust the height to be 2200. Click Save when you are done. And when it brings you back to the Brightspace editor, click Save and Close.
-

If you find that this issue is happening to a non-boilerplate file, i.e a learning activity. Identify if it is an HTML error. If not, ask for help as this resolution cannot be done for a learning activity file.
Missing page
In the Content area, on the left panel where the module and units are listed, the units (which are the blocks that have a coloured arrow and have all the content listed inside them) have boilerplate files within them.

If you find any of them missing, say there is an error page or there is no image inside the unit, follow these steps:
- Click on the three ellipses on the right corner of the Content area panel and select Edit from the pop-up menu.
-
- On the Brightspace editor, click on the embed button to bring you to the HTML editor of the file.
-
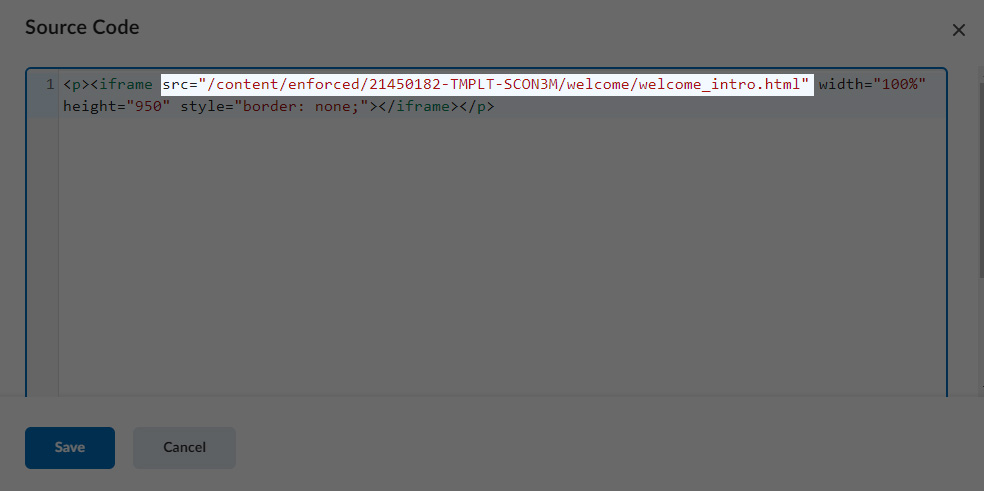
- On the new pop-up editor, look at the file path and make sure that all of the folders that are needed to naviagte to the file are present (you can check in Manage Files what the exact file path should be.) Click Save when you are done. And when it brings you back to the Brightspace editor, click Save and Close.
-
If the file path is correct here, check that the file is present in Manage Files.
Missing/Mislinked module
You can find out that a module is missing or mislinked either in the Content or Course Builder area. Missing modules will not appear in the Content area and in the Course Builder, it will either look like an unlinked module or it will not appear.
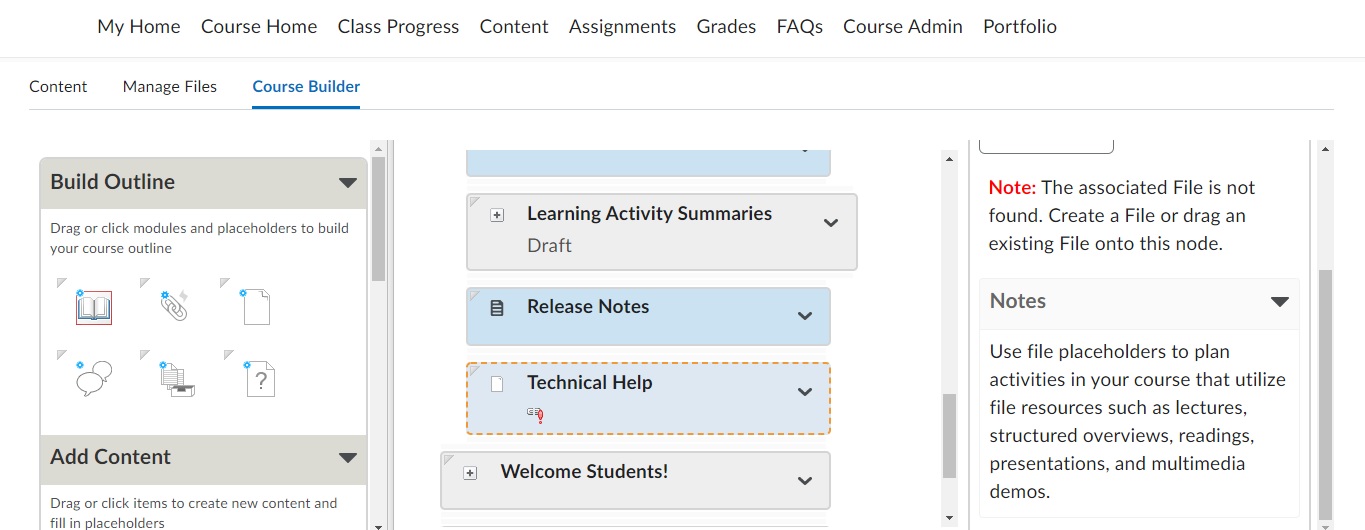
An unlinked module will be pale with a dotted border.
Missing module
Press on the following tabs to see the solutions to linking back a missing module.
- Find the unlinked module in the Course Builder.
- On the right panel, click “Add File”.
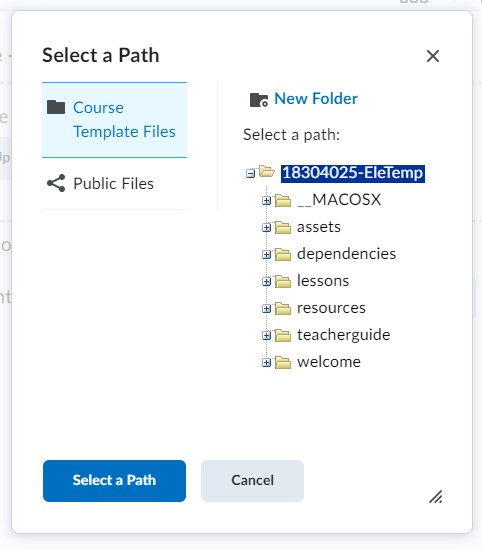
- A pop-up menu will appear. Click on Course Template Files.
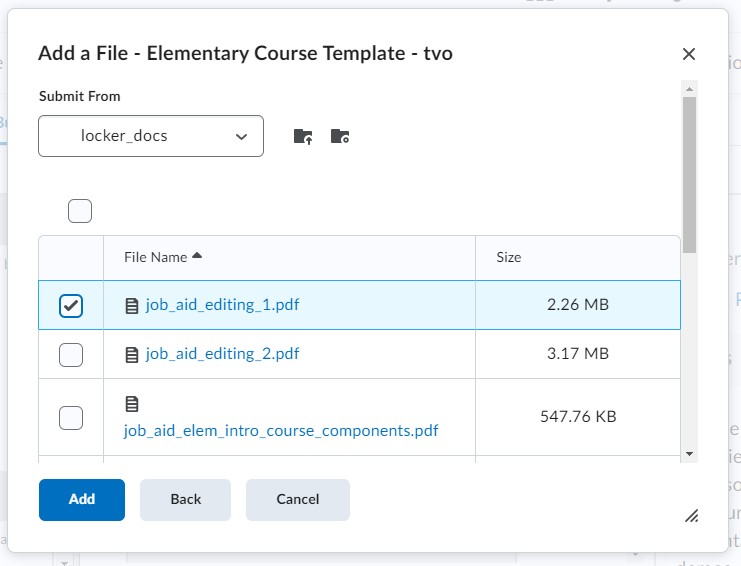
- Navigate to the file you want to populate in the empty module and click the check box and then click Add.
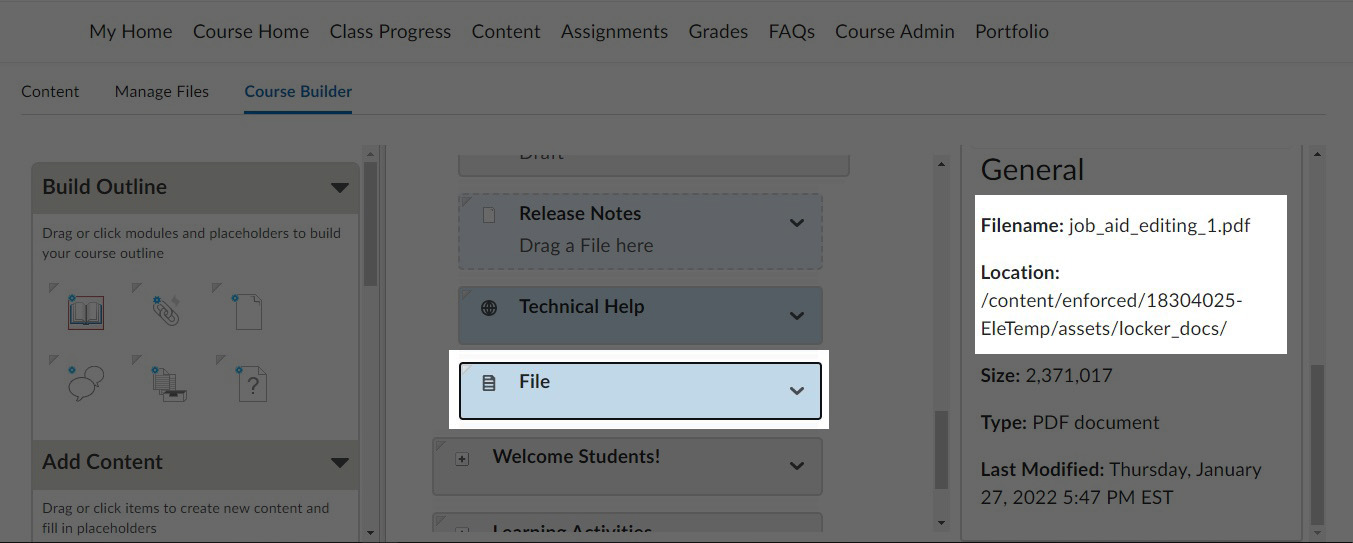
- Now the module will be a dark blue, and on the right panel, you will see which file is linked to the module.


NOTE: If the linked file is the wrong file, the solution will be found under Mislinked module.
Identify if a file is missing if the module looks unlinked and you cannot find the file within the Course Template Files.
Add the file either one of two ways:
Through Course Builder
- In Course Builder, on the module that is unlinked. Click “Add File”.
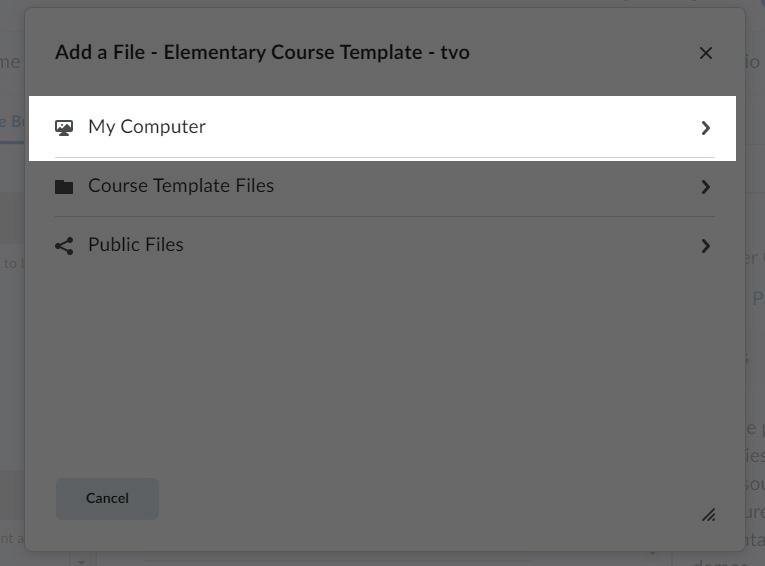
- A pop-up menu will appear. Click on My Computer.
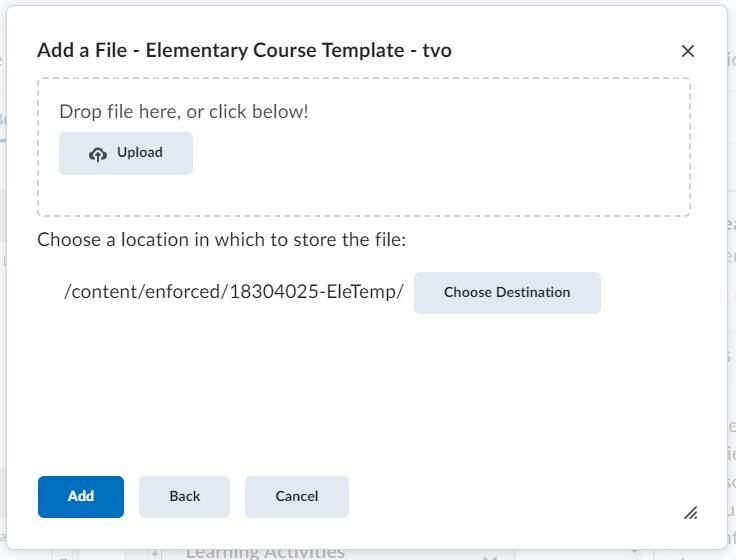
- Drop or upload a file from your local machine into the Upload section. Make sure the file is the latest version.
- Then click Choose Destination. A pop-up will appear where you will then navigate to the folder that you want the file to be placed once it is uploaded from your computer. Click Select a Path when you’ve selected your folder.
- The file is now placed.
Through Manage Files
- Go to Manage Files and upload the file from your computer into the correct folder.
- Return to Course Builder and relink the file as if it were an Unlinked File.
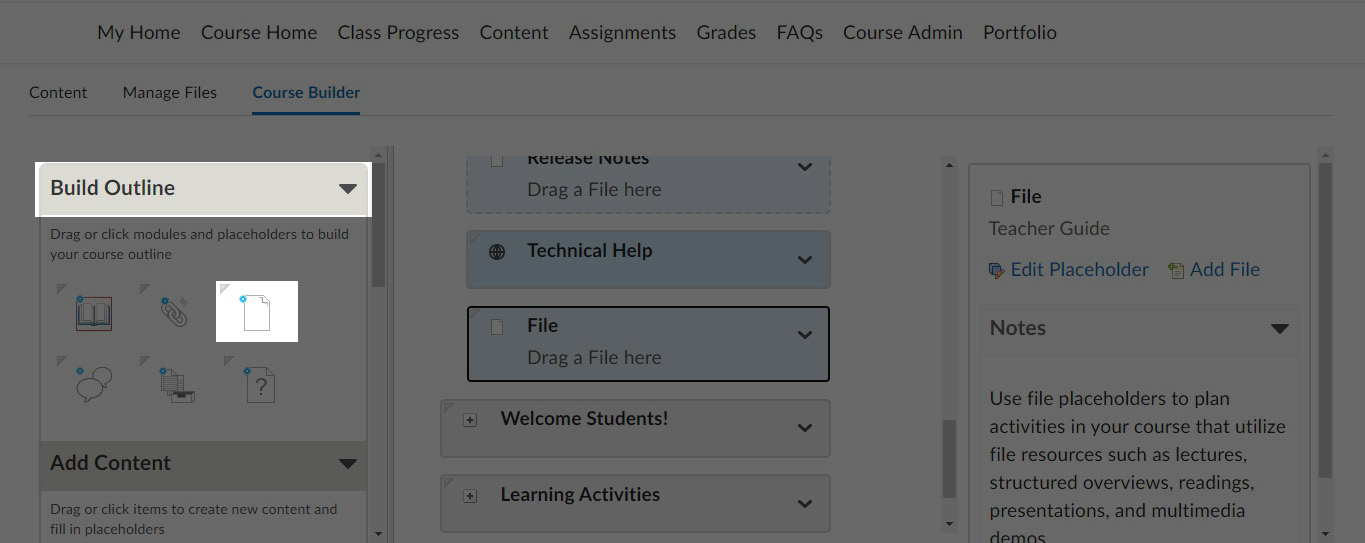
If the module is missing, you won't see any module box of the correct name in the Course Builder.
- Add a module box in the Course Builder by going to the left panel, and under Build Outline, click the top right icon.
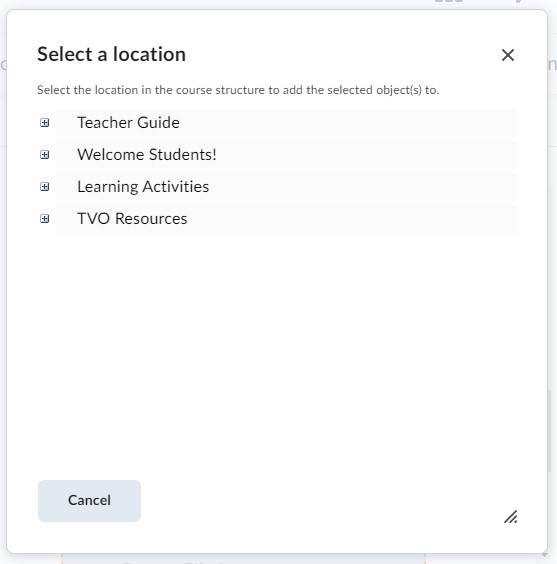
- A pop-up will appear and you will need to select an Unit that the module box will populate in.
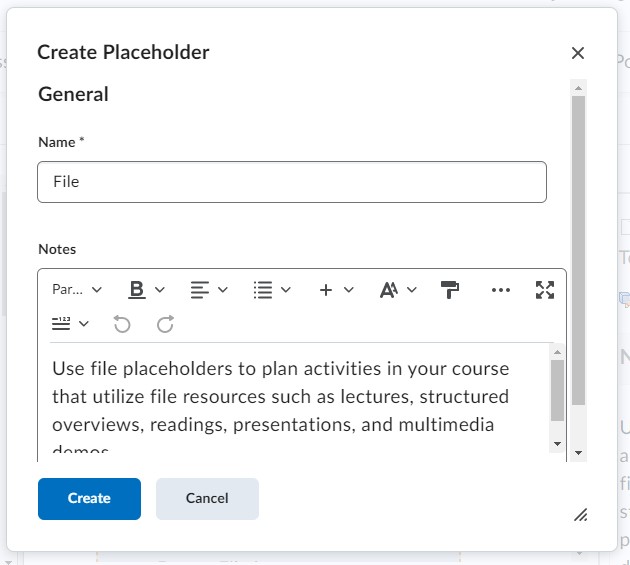
- Once selected, name the module and click Create.
- The module will appear and you are free to link it as an Unlinked File.
Mislinked module
You can tell if a module is linked to the wrong file in Course Builder because on the right panel, the file name that is linked does not match the correct name. Here are the steps to resolve this issue.
- Find the incorrect file in Manage Files and delete it. (If it is an important file, no worries! We will add it after linking the correct file.)
- Return to the Course Builder and go to the module that the file used to inhabit. It should look like an unlinked file with a warning icon.
- The option to “Add File” on the right panel should be available now and you can upload the correct file from your computer or from the Course Template. See Missing file or Unlinked file
- Double check on the right panel that the file is correct.
- If applicable: Re-upload the deleted file in Manage Files.
Incorrect Module Title
In the Content area, sometimes the name of the module will not match the name of the content. This happens most often in LAs or LA summaries. There are two things that could be happening, either the module title is wrong or the content is wrong.
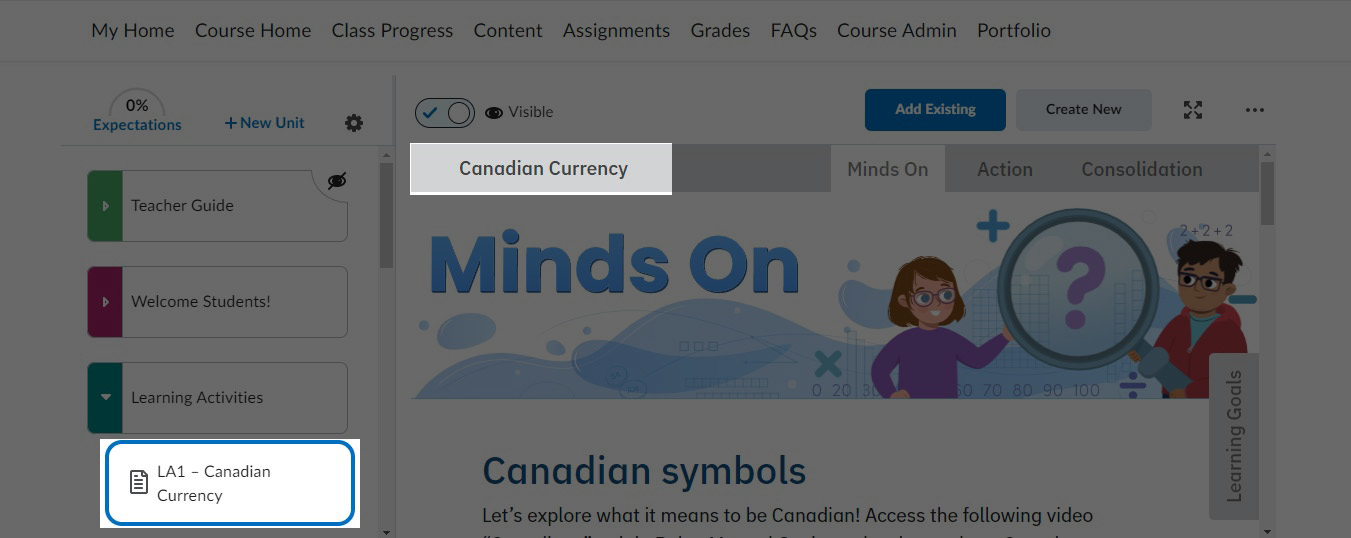
Learning Activity Summary
These titles should match one another like this.
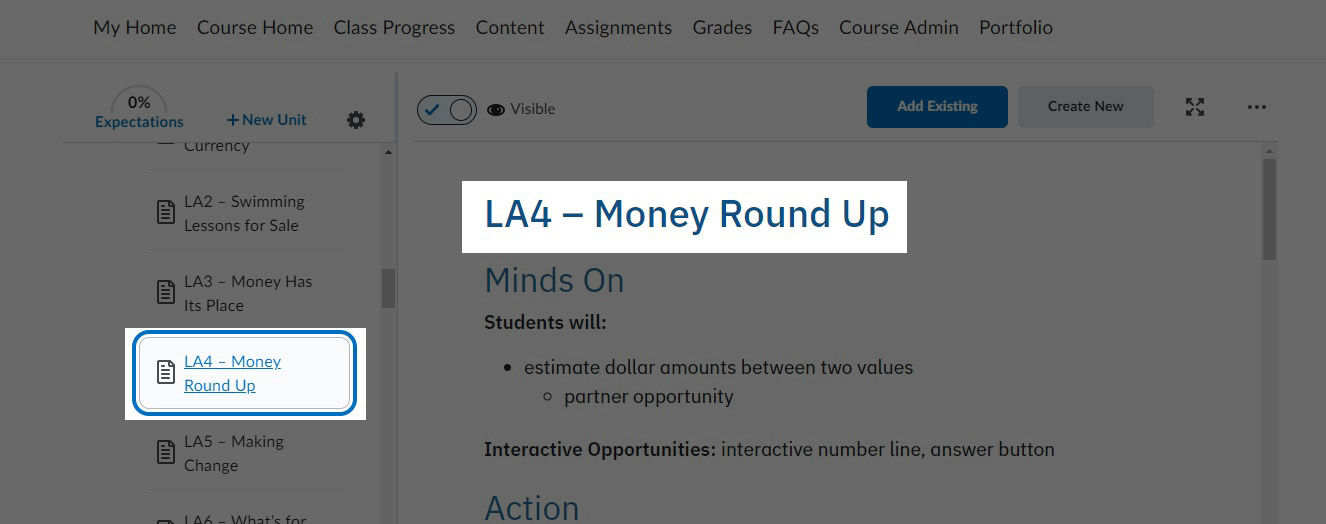
Learning Activity
These titles should match one another like this.
If the module title is incorrect…
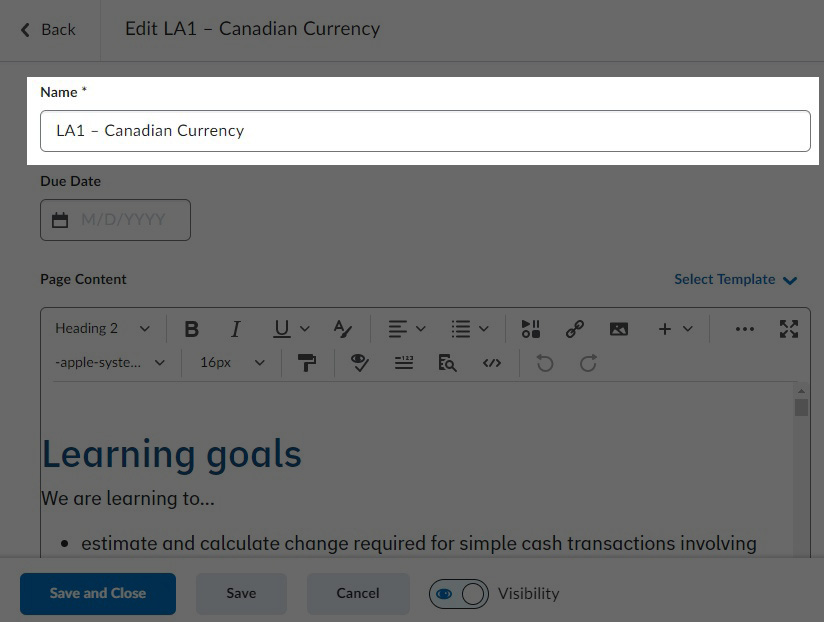
- Click on the three ellipses on the right corner of the Content area panel and select Edit from the pop-up menu.
-
- When you are brought to the editor, change the name of the title here. Then click Save and Close.
-
If the module content is incorrect…
Go to Course Builder and treat this issue like a Mislinked module